Developing a Web
Application
with Spring Framework and OpenRules
Part 2 – Adding Major Spring Components
This is the second part of a step-by-step account of how
to develop web applications using
Spring framework and OpenRules.
The first part described how to setup a Tomcat-based development environment and
create a trivial web application. In this part we will add major Spring
framework components such as DispatcherServlet and Controller and create a view
that only displays current date and time.
Step 5 – Download Spring distribution
If you have not already downloaded the Spring Framework Release file, now is the time to do so. We will use 'spring-framework-1.2-with-dependencies.zip' that can be downloaded from www.springframework.org/download.html. Let's unzip this file in our home directory. We are going to use several files from this download later on.
Step 6 – Modify web.xml in WEB-INF directory
Go to the 'hello.spring/war/ WEB-INF' directory. Modify the minimal 'web.xml' file that we created earlier. Now we will modify it to suit our needs. We define a DispatcherServlet that is going to control where all our requests are routed based on information we will enter at a later point. It also has a standard servlet-mapping entry that maps to the url patterns that we will be using. We will let any url with an '.htm' extension be routed to the 'hello.spring' dispatcher.
| hello.spring/war/WEB-INF/web.xml |
<?xml version="1.0" encoding="UTF-8"?> |
Next, create a file called 'hello-servlet.xml' in the hello.spring/war/WEB-INF directory (you can copy an example of this file from the Spring distributions sample/skeletons/webapp-minimal directory). This is the file where definitions used by the DispatcherServlet should be entered. It is named based on the servlet-name from web.xml with '-servlet' appended. This is a standard naming convention used in the Spring Framework. Now, add a bean entry named HelloController and make the class HelloController. This defines the controller that our application will be using. We also need to add a url mapping so the DispatcherServlet knows which controller should be invoked for different url:s.
| hello.spring/war/WEB-INF/hello.spring-servlet.xml |
<?xml version="1.0" encoding="UTF-8"?> |
Step 7 – Copy jars to WEB-INF/lib
First create a 'lib' directory in the 'war/WEB-INF' directory. Then, from the Spring distribution, copy spring.jar (spring-framework-1.2/dist/spring.jar) to the new war/WEB-INF/lib directory. Also copy commons-logging jars to the war/WEB-INF/lib directory (spring-framework-1.2/lib/jakarta-commons/commons-logging.jar). We are also going to need a log4j jar. Copy log4j-1.2.9.jar to the war/WEB-INF/lib directory (spring-framework-1.2/lib/log4j/log4j-1.2.9.jar). These jars will be deployed to the server and they are also used during the build process.
Step 8 – Create your Controller
Create your Controller – we already named it HelloController.java and placed it in the hello.spring/src directory.
| hello.spring/src/HelloController.java |
import org.springframework.web.servlet.mvc.Controller; |
This is as basic a
Controller as you can use. We will be expanding this later on, and we
will also later on extend some provided abstract base
implementations. The Controller “handles” the request and
returns a ModelAndView. We have not yet defined any Views, so right
now there is nothing to do.
Step 9 – Build the Application
Run the 'build' task of the build.xml. Hopefully the code compiles OK.
Buildfile: build.xml

build:
    [javac] Compiling 1 source file to /hello.spring/war/WEB-INF/classes

BUILD SUCCESSFUL
Total time: 2 seconds
|
Step 10 – Copy and modify log4j.properties
The Spring Framework uses log4j for logging so we have to create a configuration file for log4j. Copy the log4j.properties from the sample Petclinic application (spring-framework-1.2/samples/petclinic/war/WEB-INF/log4j.properties) to the war/WEB-INF/src directory. Now uncomment or modify the log4j.rootCategory property and change the name and location of the logfile that will be written. For example, we can have it written to the same directory as all other Tomcat logs.
| hello.spring/war/WEB-INF/src/log4j.properties |
# For JBoss: Avoid to setup Log4J outside $JBOSS_HOME/server/default/deploy/log4j.xml! |
Step 11 – Deploy Application
Run the 'deploy' task and then the 'stop' and 'start' tasks of the build.xml. This will force a reload of the application. We have to check the Tomcat logs for any deployment errors – there could be typos in the above xml files or there could be missing classes or jar files. The very last line should look like:
INFO [org.springframework.web.servlet.DispatcherServlet] - Servlet 'hello.spring' configured successfully |
Step 12 – Create a View
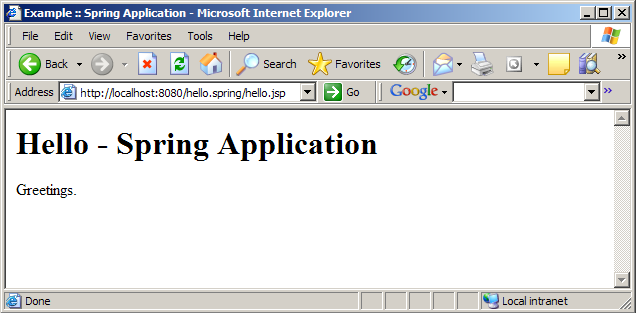
Now it is time to create our first view. We will use a JSP page that we can name hello.jsp. We'll put it in the war directory to begin with.
| hello.spring/war/hello.jsp |
<html> |
Nothing fancy here, but it will do for now. Next we have to modify the HelloController to forward to this view.
| hello.spring/src/HelloController.java |
import org.springframework.web.servlet.mvc.Controller; |
Note that we also added a logger so we can verify that we actually got here. Changes are highlighted in red. The model that this class returns is actually resolved via a ViewResolver. Since we have not specified a specific one, we are going to get a default one that just forwards to a url matching the name of the view specified. We will modify this later on.
Now compile and deploy the application. After instructing Tomcat to stop and then start the application, everything should get reloaded.
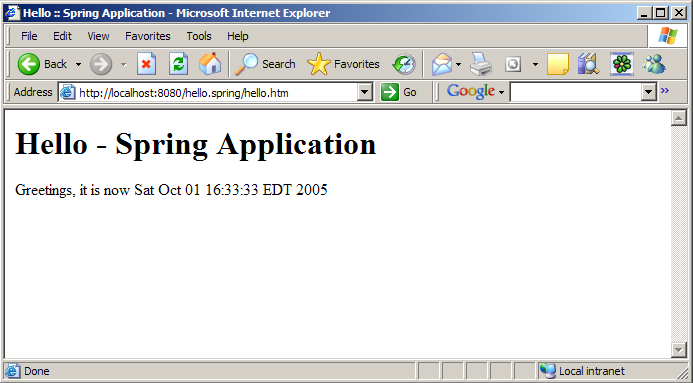
Let's try it in a browser – enter the url http://localhost:8080/hello.spring/hello.htm and we should see the following:
We can also check the log – I'm only showing the last entries, but we can see that the controller did get invoked and that it forwarded to the hello view. (/jakarta-tomcat-5.0.28/logs/hello.spring.log)
2005-09-24 15:01:56,217 INFO [org.springframework.web.servlet.DispatcherServlet] - FrameworkServlet 'hello.spring': initialization completed in 372 ms |
Step 13 – Improve index.jsp
We will make use of JSP Standard Tag Library (JSTL) so we will start by copying the JSTL files we need to our WEB-INF/lib directory. Copy jstl.jar from the 'spring-framework-1.2/lib/j2ee' directory and standard.jar from the 'spring-framework-1.2/lib/jakarta-taglibs' directory to the hello.spring/war/WEB-INF/lib directory. Also create a “header” file that will be included in every JSP page that we are going to write. This will make development easier and we will be sure that we have the same definitions in all JSPs. We are going to put all JSPs in a directory named jsp under the WEB-INF directory. This will ensure that only the controller has access to the views - it is not possible to get to these pages by entering them directly as a URL in the browser. This strategy might not work in all application servers and if this is the case with the one you are using, just move the jsp directory up a level. You would then use hello.spring/war/jsp as the directory instead of hello.spring/war/WEB-INF/jsp in all the code examples that will follow.
| hello.spring/war/WEB-INF/jsp/include.jsp |
<%@ page session="false"%> |
Now we can change index.jsp to use this include and since we are using JSTL we can use the <c:redirect> tag for redirecting to our Controller. This ties the index.jsp into our application framework.
| hello.spring/war/index.jsp |
<%@ include file="/WEB-INF/jsp/include.jsp" %> |
Step 14 – Improve the view and the controller
We am going to move the view hello.jsp to the WEB-INF/jsp directory. The same include that was added to index.jsp gets added to hello.jsp. We also add the current date and time as output that we will retrieve from the model, passed to the view, using the JSTL <c:out> tag.
| hello.spring/war/WEB-INF/jsp/hello.jsp |
<%@ include file="/WEB-INF/jsp/include.jsp" %> |
For HelloController.java there are a few changes we need to make. Change the view to WEB-INF/jsp/hello.jsp since we moved the file to this new location. Also add a string containing the current data and time as the model.
| hello.spring/src/HelloController.java |
import org.springframework.web.servlet.mvc.Controller; |
Now we are ready to try this after we build and deploy this new code. We enter http://localhost:8080/hello.spring in a browser and that should pull up index.jsp, which should redirect to hello.htm, which in turn gets us to the controller that sends the data and time to the view.
Step 15 – Decouple the view and the controller
Right now the controller specifies the full path of the view, which creates an unnecessary dependency between the controller and the view. Ideally we would like to map to the view using a logical name, allowing us to switch the view without having to change the controller. You can set this mapping in a properties file if you like using a ResourceBundleViewResolver and a SimpleUrlHandlerMapping class. If your mapping needs are simple it is easier to just set a prefix and a suffix on the InternalResourceViewResolver. The latter approach is the one that we will implement now, so we have to modify the hello.spring-servlet.xml and include this viewResolver entry. We will use a JstlView which will enable us to use JSTL in combination with message resource bundles and it will also support internationalization.
| hello.spring/war/WEB-INF/hello.spring-servlet.xml |
<?xml version="1.0" encoding="UTF-8"?> |
So now we can remove the prefix and suffix from the view name in the controller.
| hello.spring/src/HelloController.java |
import org.springframework.web.servlet.mvc.Controller; |
Compile and deploy and the application should still work.
Summary
Let's take quick look at the parts of our application that we have created so far.
A DispatcherServlet with a corresponding hello.spring-servlet.xml configuration file.
A controller hello.springController.java with limited functionality – it just forwards a ModelAndView to the ViewResolver. Actually, we only have an empty model so far, but we will fix this later.
A view hello.jsp that only displays current date and time. But the whole setup works and we are now ready to add more functionality.
Up
Part
1 – Environment Setup
Part 3 – Adding Business Logic in Java